ASC App Beta instructions
These instructions walk beta testers through setting up a SlumberTek using the ASC Connect Stage app, calibrating it, and then adding it to Home Assistant.
iOS note: The flow in TestFlight should be very similar, but the screenshots in this guide are from Android.
Before you start
- SlumberTek installed + powered: Place your SlumberTek under your mattress and plug it in.
- 2.4 GHz Wi-Fi only: SlumberTek uses ESP32-C3/C6 hardware and does not support 5 GHz networks.
- Permissions: When prompted, allow all permissions (especially Notifications, Location, and Nearby Devices).
- Home Assistant users: During setup, connect SlumberTek to the same Wi-Fi network your Home Assistant uses.
Important warning about firmware updates
Do NOT update SlumberTek firmware unless we explicitly info you to.
- Do not install firmware from docs.asc.com pages.
- Do not press any firmware update buttons in the ASC app.
If you update firmware by accident, email us and we’ll send the correct original firmware file for your device.
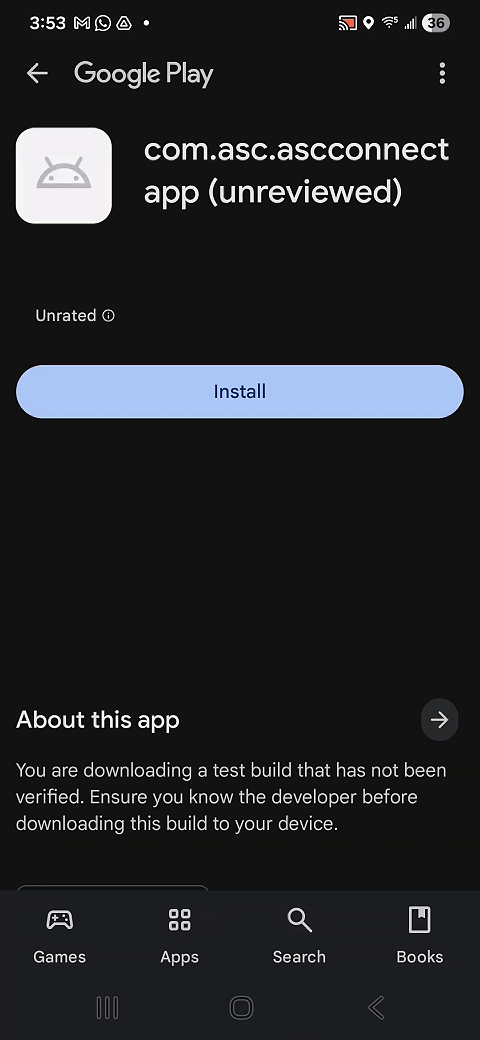
1) Install the ASC Connect Stage app
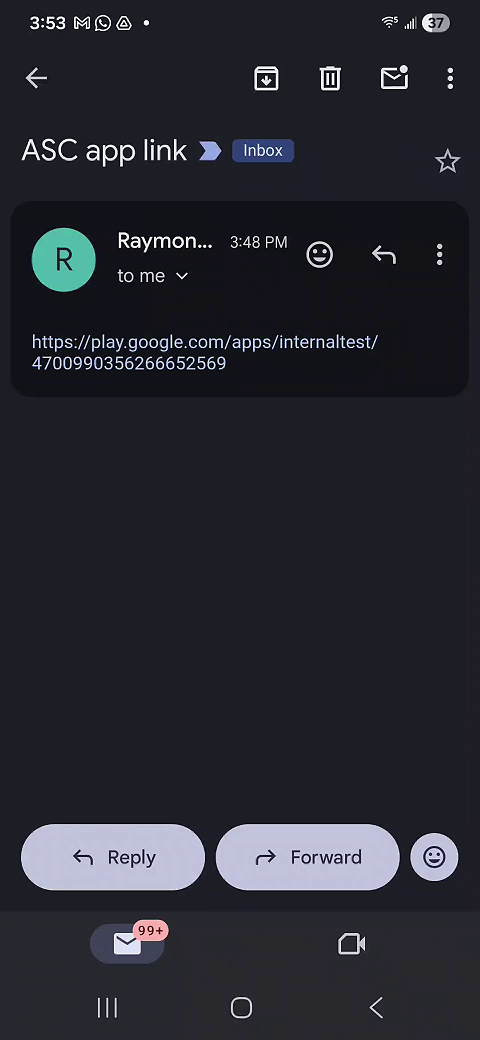
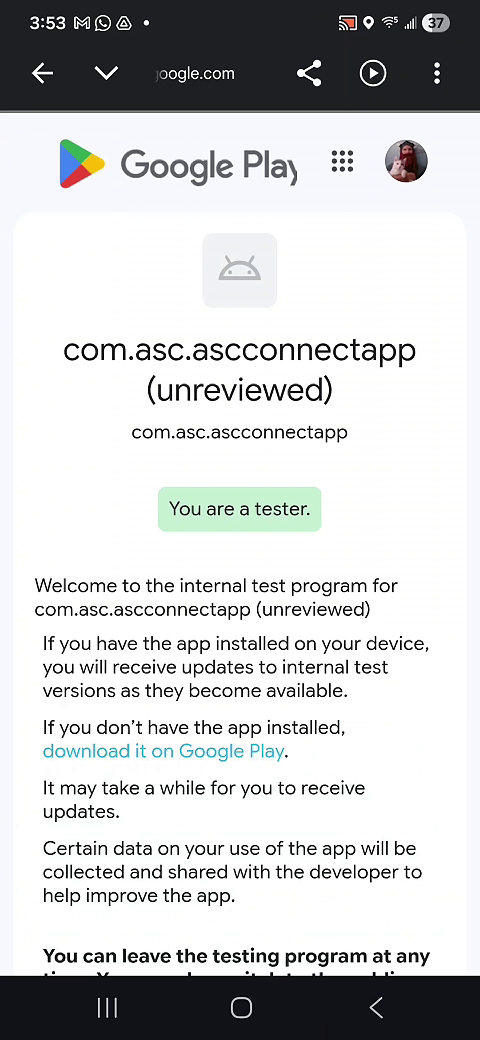
Android (Google Play beta link)
You will receive a direct Google Play testing link from ASC for Android or an invite from Apple TestFlight. Use that link to install the app.
iOS (TestFlight link)
You will receive a direct TestFlight link from ASC. Use that link to install the app.
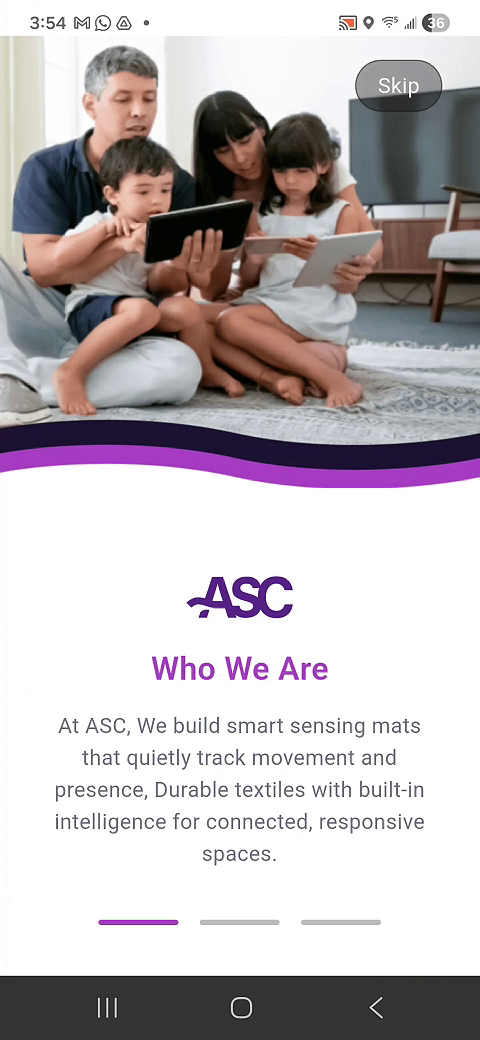
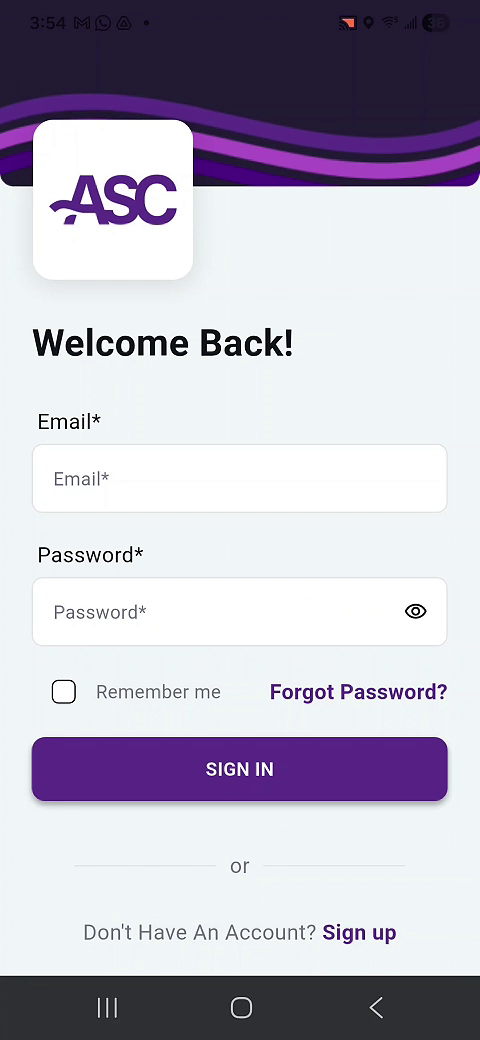
2) Create your account and sign in
- Open ASC Connect Stage
- Create an account:
- Email + password
- First/last name
- Address (required)
- Confirm your email using the OTP code sent to your inbox
- Sign in
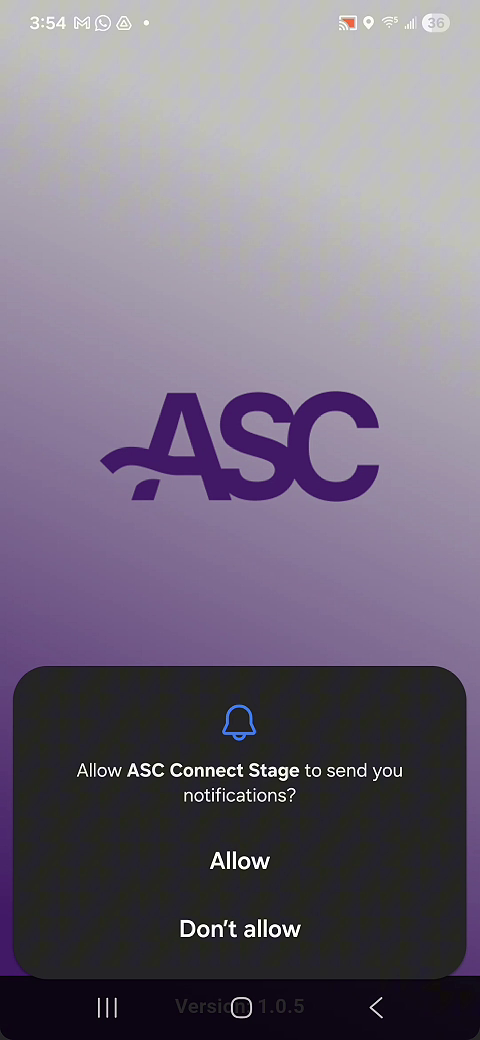
3) Accept permissions
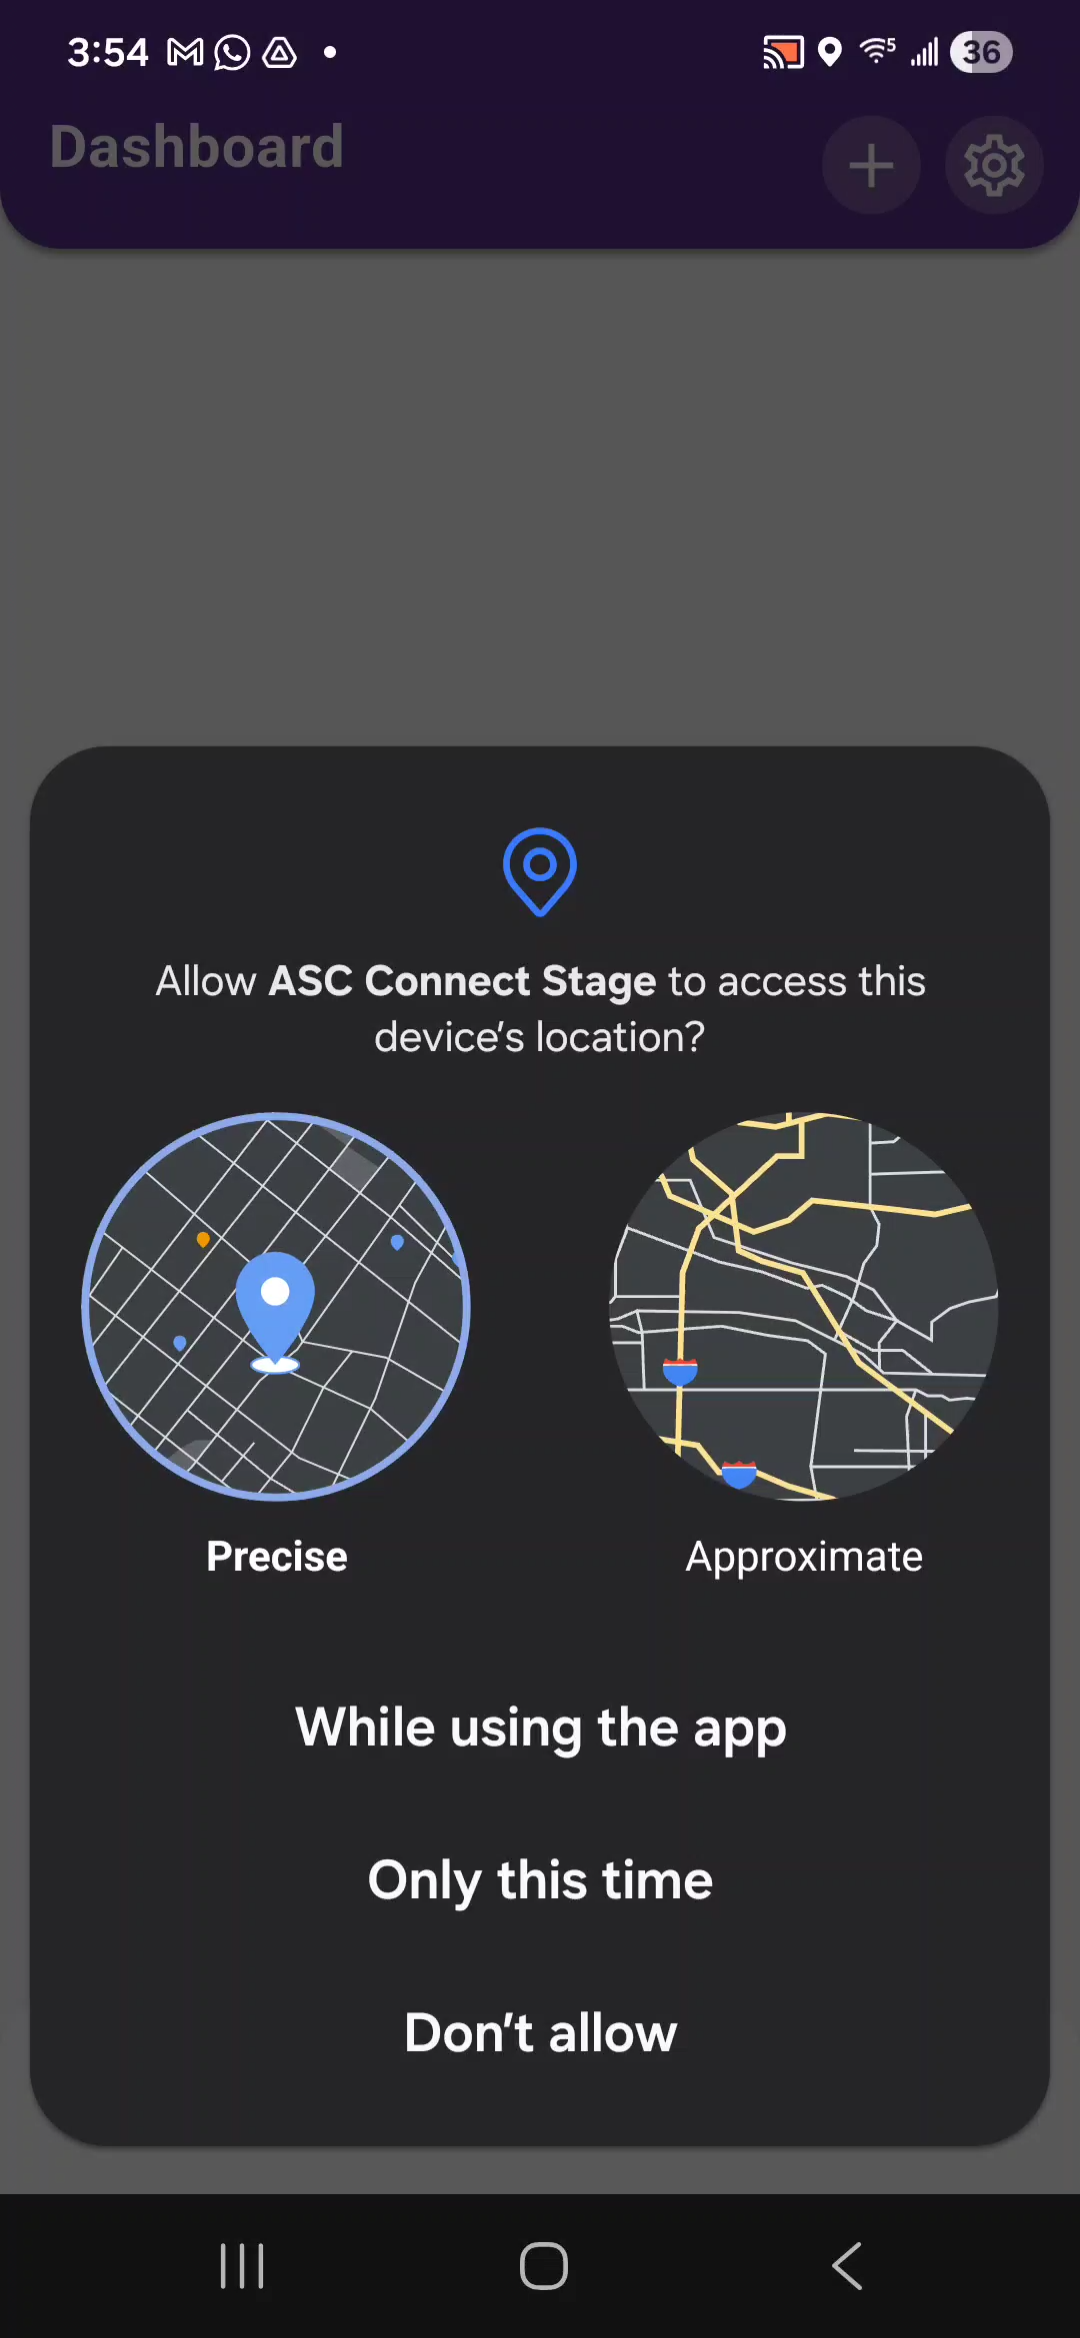
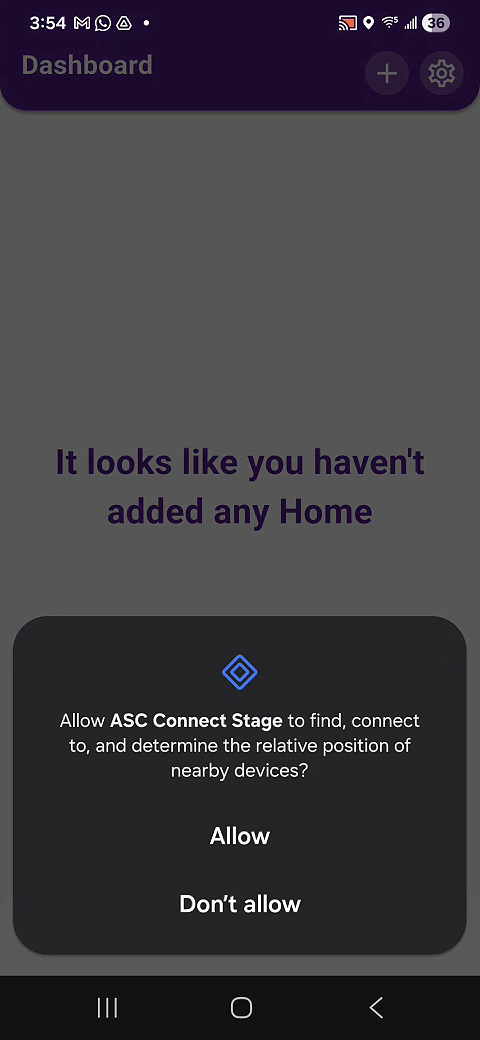
When prompted, accept all permissions. The most important ones are:
- Notifications: Allow
- Location: Choose Precise + While using the app
- Nearby Devices: Allow
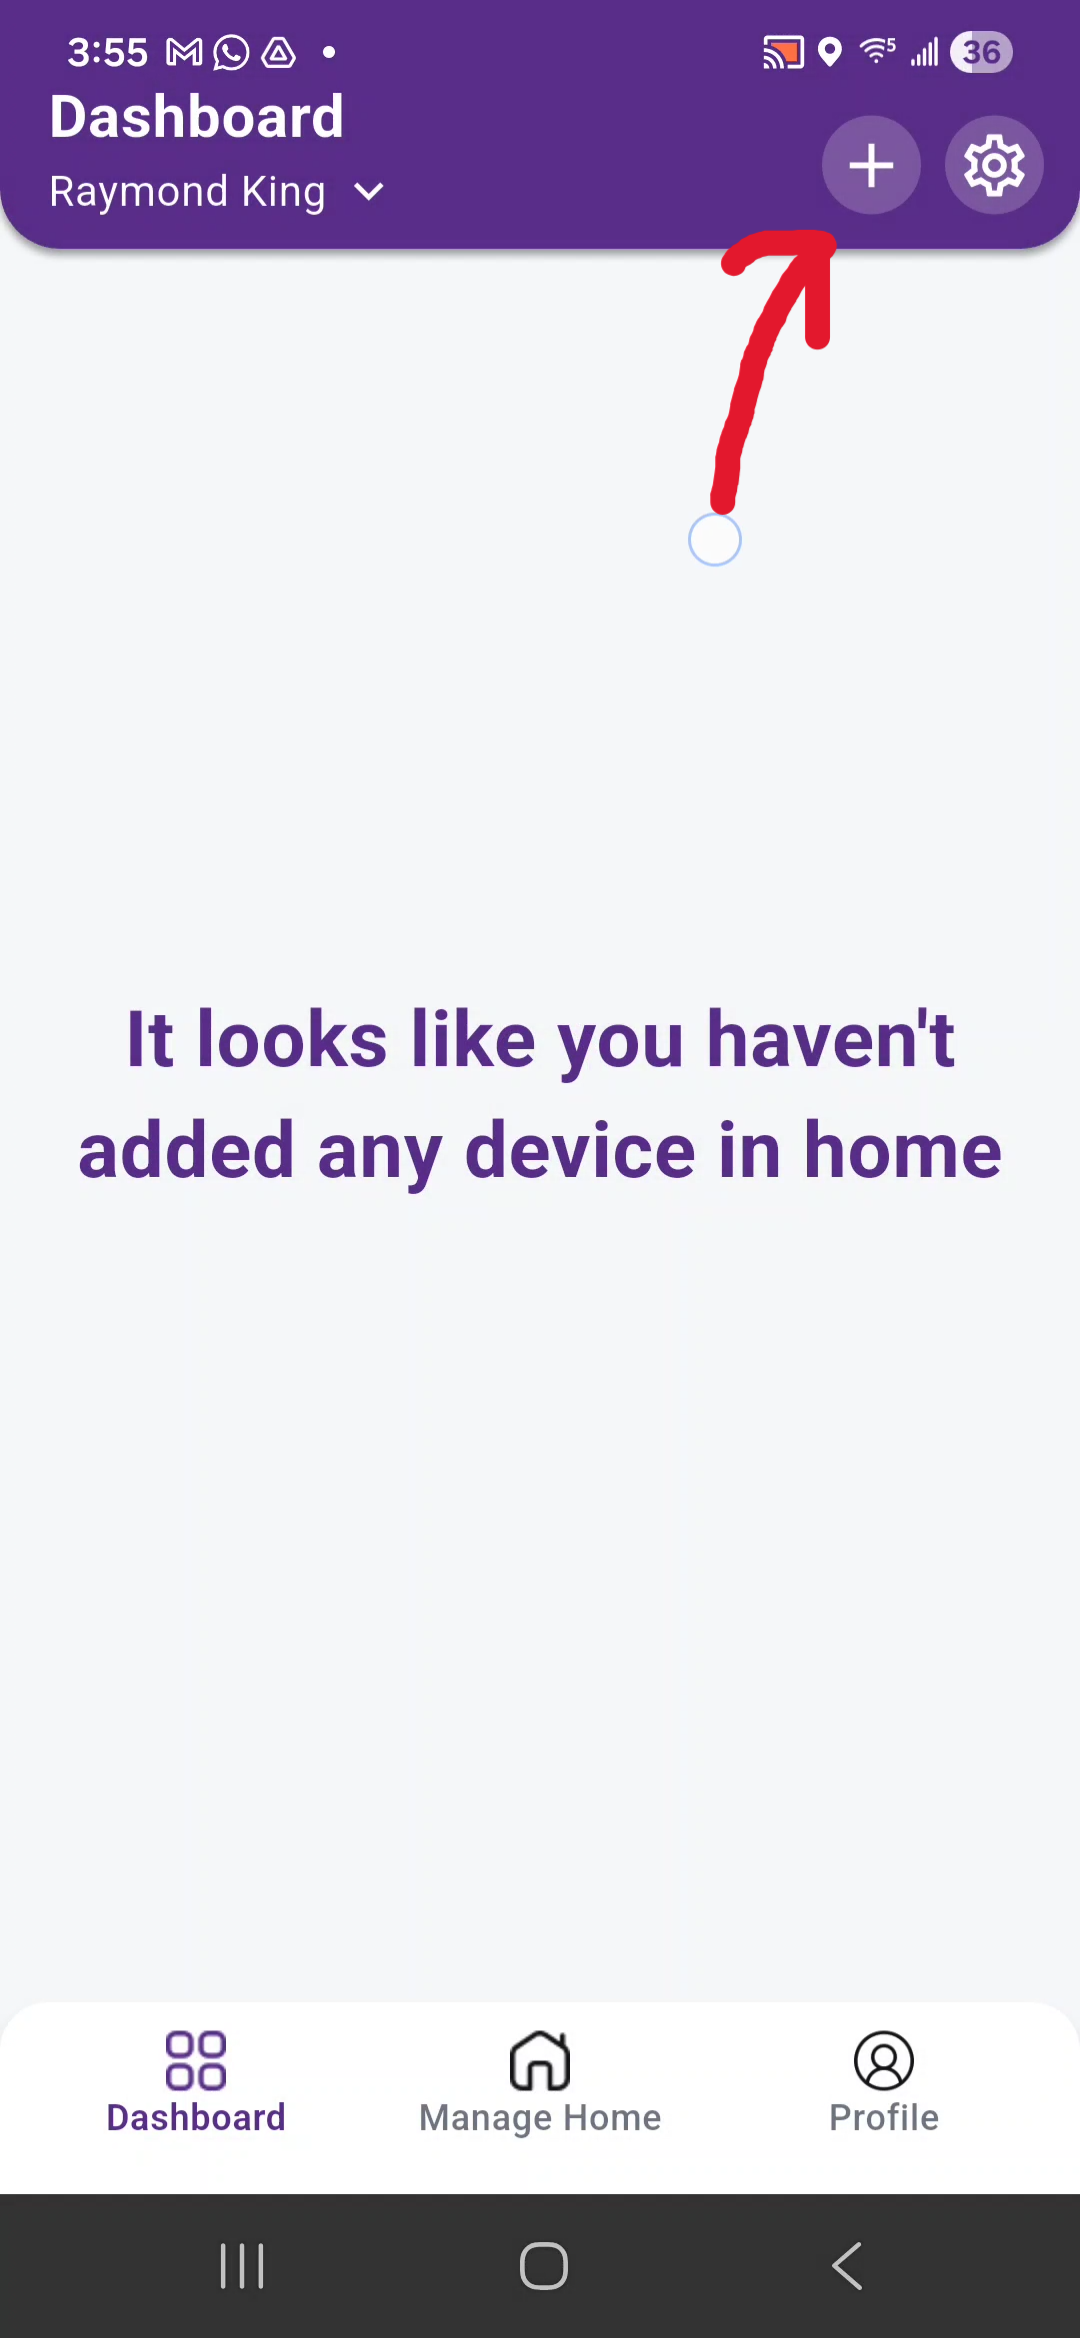
4) Add your SlumberTek to the app
- From the main dashboard, tap the + (top right)
-
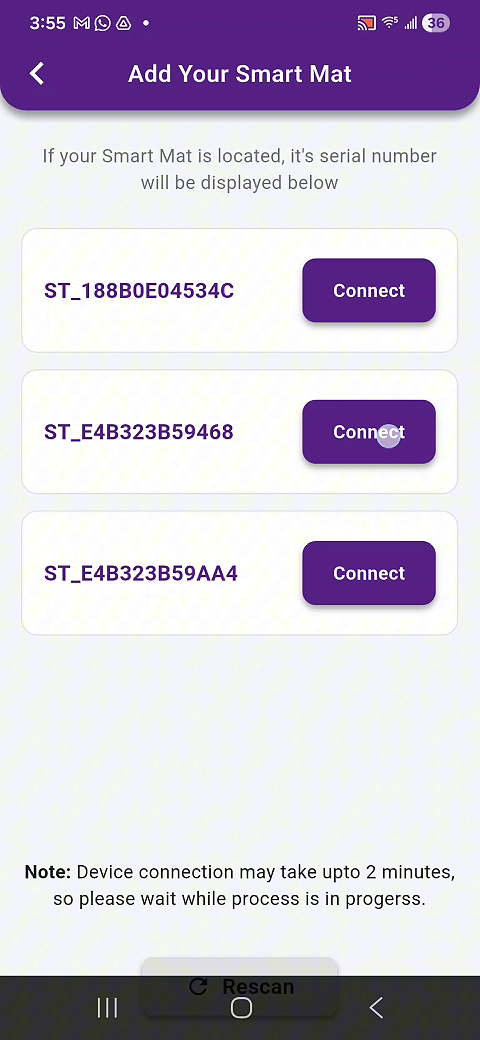
You should see your device listed as:
ST_XXXXXXXXXXXX(this is the device MAC address) - Tap Connect on your
ST_...device
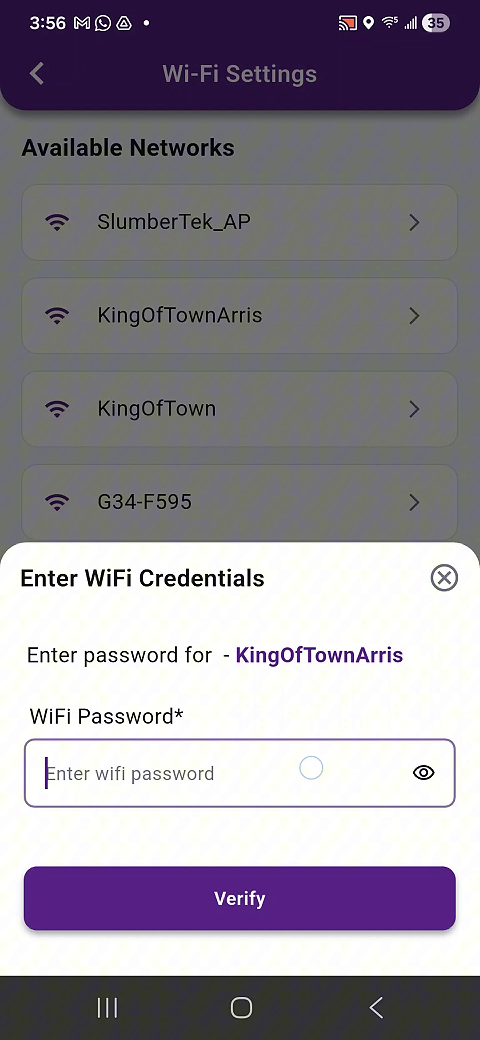
5) Connect SlumberTek to Wi-Fi (same network as Home Assistant)
- Select your 2.4 GHz Wi-Fi network
- Enter the Wi-Fi password
- Tap Verify (or the confirm button shown in the app)
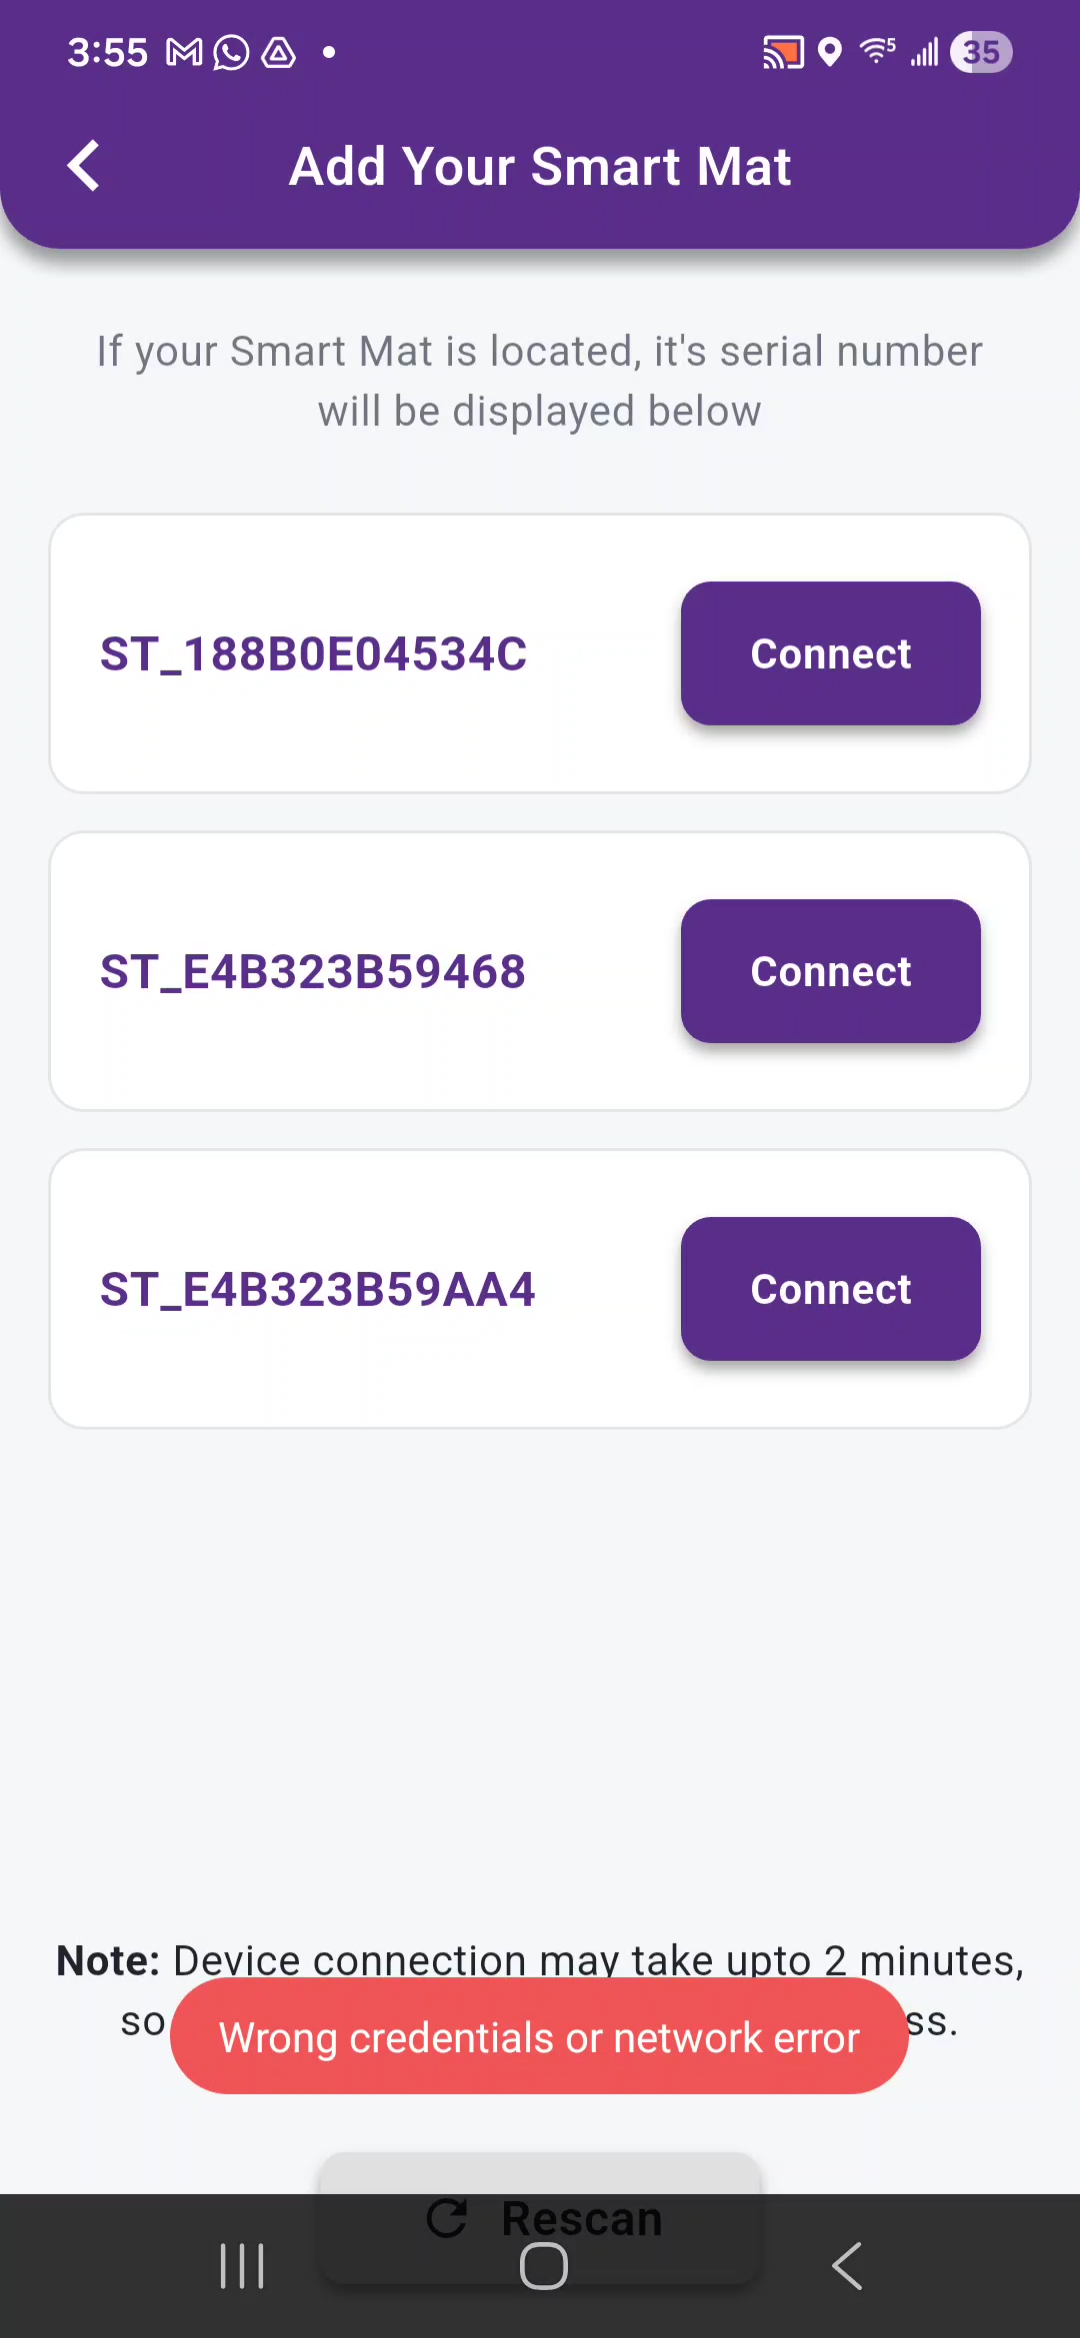
If Wi-Fi setup fails the first time (common beta bug)
Sometimes the first provisioning attempt fails with an error like:
“Wrong credentials or network error”
If that happens:
- Try again (same network + same password)
- Most users find the second attempt works
6) Assign the device to a Room (required)
SlumberTek must live inside a Room in the app.
- If you don’t have a Room yet, you will need to create one.
- Create the Room, then continue.
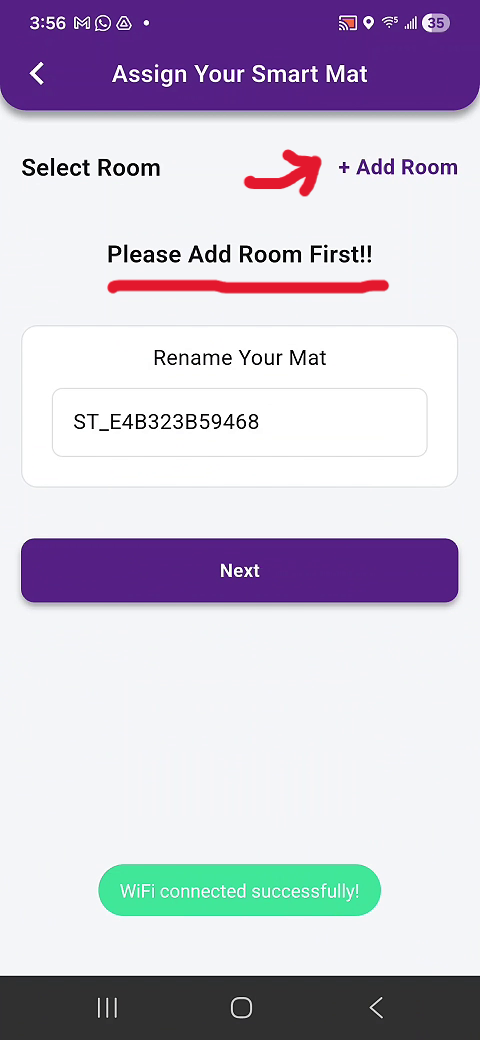
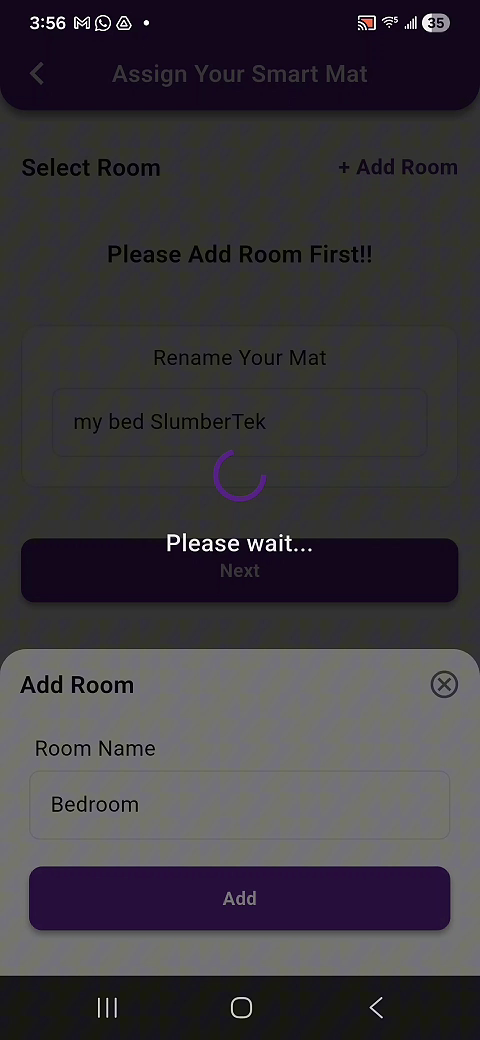
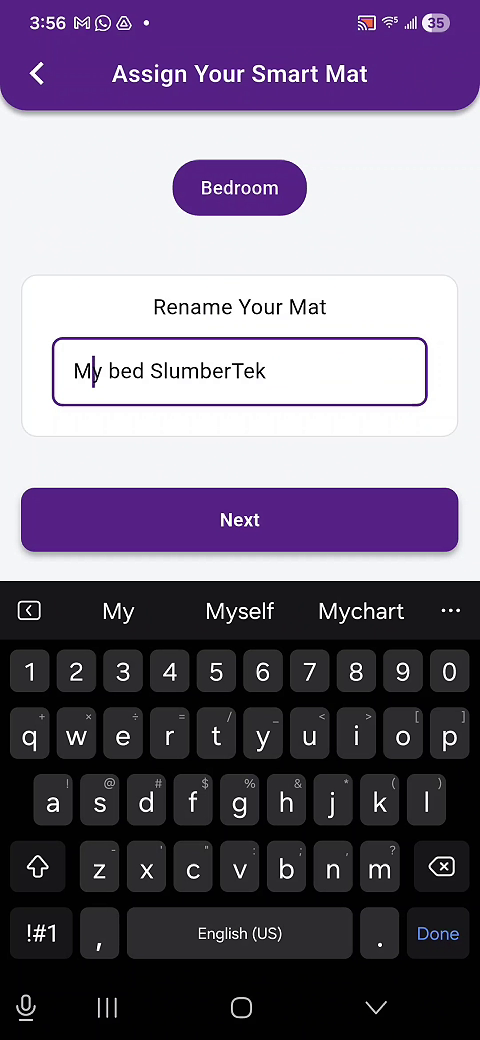
Then name your device and finish the setup flow.
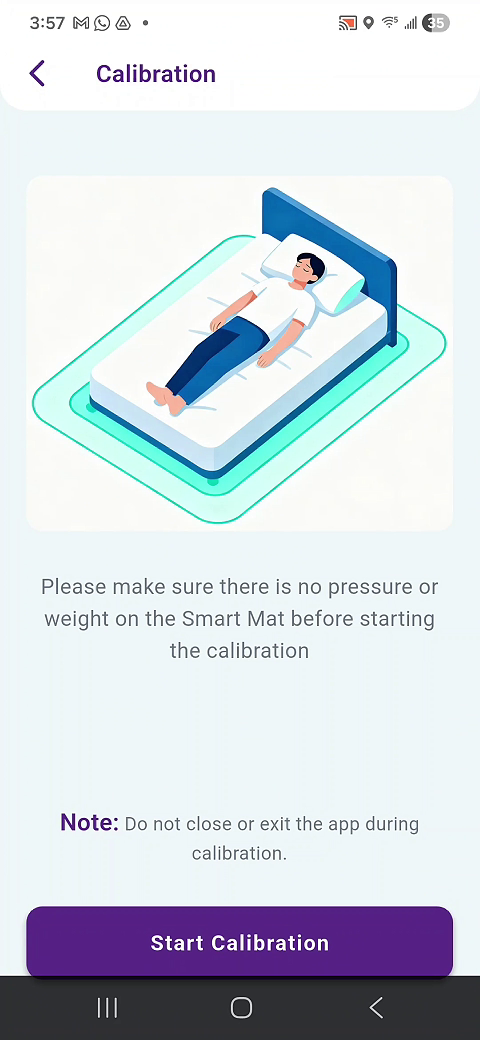
7) Run calibration
Calibration establishes an initial baseline reading (auto calibration continues to adjust day-to-day).
- Click on your device from the dashboard to open it
- Scroll down to Calibration and tap into it (Known bug: It can take up to a minute or so for your SlumberTek to connect to the App)
- Tap Start Calibration
- Wait a few seconds for calibration to begin
- Get into bed normally and stay there until the calibration finishes (about 45 seconds)

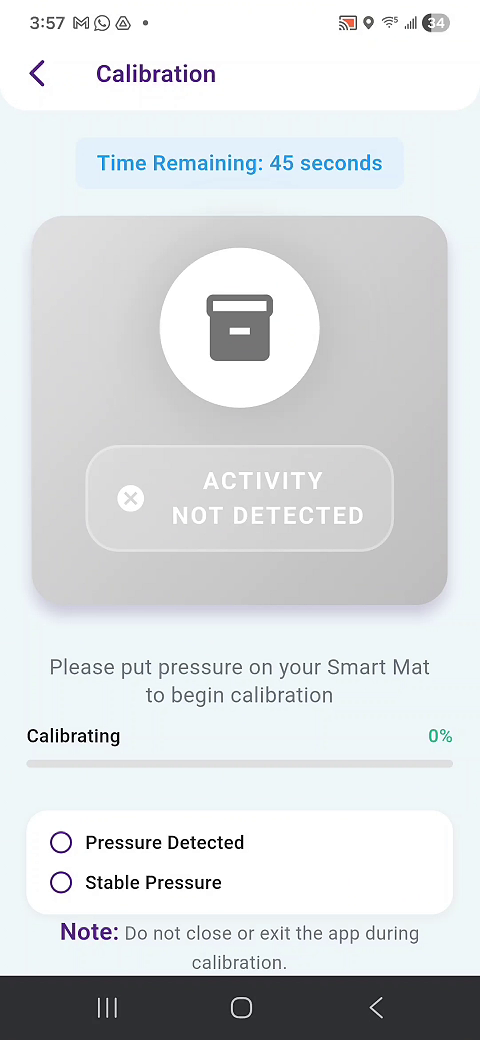
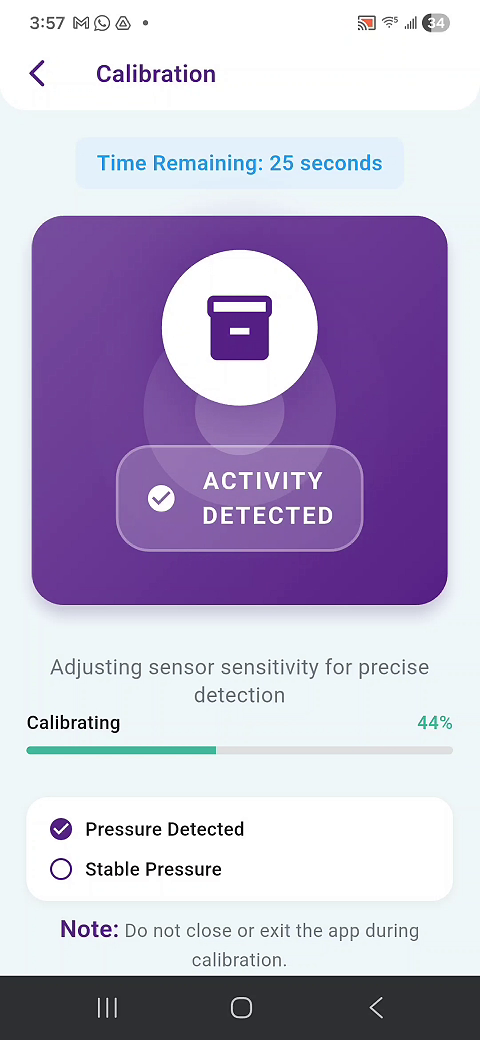
After calibration, you should see a success/complete state.
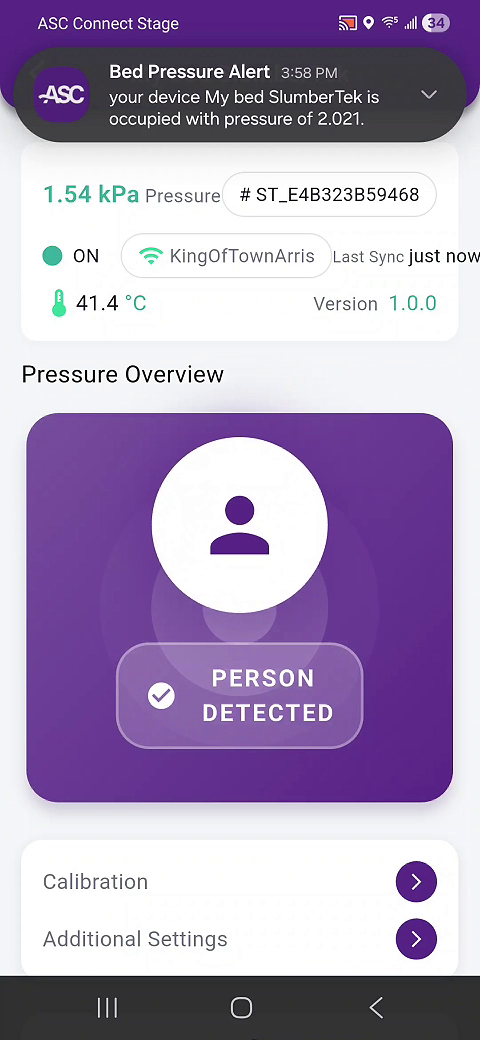
8) Quick test (make sure it’s working)
After calibration:
- Get in and out of bed a few times
- Confirm:
- The in-app status/indicator updates
- You start receiving occupied / unoccupied notifications
9) DO NOT press “Check Firmware Update”
On the device page, you may see a Check Firmware Update option below Calibration.
Do not press it unless you recieve an email telling you to.

10) Add SlumberTek to Home Assistant (ESPHome)
Once SlumberTek is on your network, it should show up automatically in Home Assistant.
- In Home Assistant go to: Settings → Devices & Services
- Look for it under Discovered
-
The discovered name should look like:
Bed Calibration XXXXXXXXXXXX (the X’s are the MAC address)
- Add it like any other discovered ESPHome device
- (optional) Rename device in the ESPHome device section
If it doesn’t appear, email us and include:
- Your SlumberTek
ST_...name / MAC - Your Home Assistant version (if you know it)
- Anything you noticed during Wi-Fi setup
Known beta limitations
Right now:
- You cannot fully control (or disable) occupied/unoccupied notifications in the app
- There is no notification history after you swipe a notification away
This is beta, so feedback is expected and appreciated.
What feedback we want from beta testers
Please email feedback to any ASC email thread you’re on, or to beta@asc.com.
Helpful feedback includes:
- Your overall experience using the app
- Features you’d want next
- Any times Home Assistant and the app disagree on bed presence
- Any connectivity issues between SlumberTek and the app
- Also, provide a quick description of any weird bugs you find, detailing what happened, and whether the issue is repeatable.
Next steps
- If anything feels confusing or buggy, email beta@asc.com and we’ll help you troubleshoot.